Accessing your Instance
In the last lesson we learned how to create an instance in the Exosphere user interface. Recall that an instance is essentially its own computer, except it’s running virtually inside a much bigger computer. But you aren’t next to the computer, and there is no physical monitor connecting to it, so how do you access your instance?
Web Shell
One of the reasons your instance took several minutes to build was that Exosphere was doing some neat stuff under the hood to create an account on your instance called exouser and set up the necessary software to allow you to remotely access this instance with the click of a button.
Opening the Web Shell
First, Navigate to the instance details page. If you don’t remember what this looks like, go back to Instance Details Page.
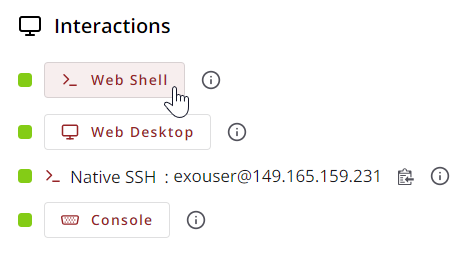
Then, look for the Interactions card and click on the Web Shell button
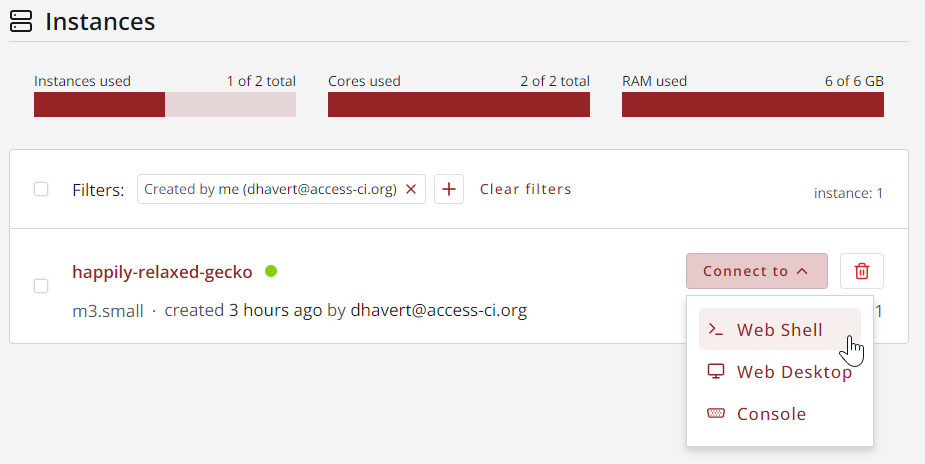
Alternatively, you can also connect to an instance from the Instance List page:
Using the Web Shell
The web shell opens a new tab in your browser and displays text that will look like the following:
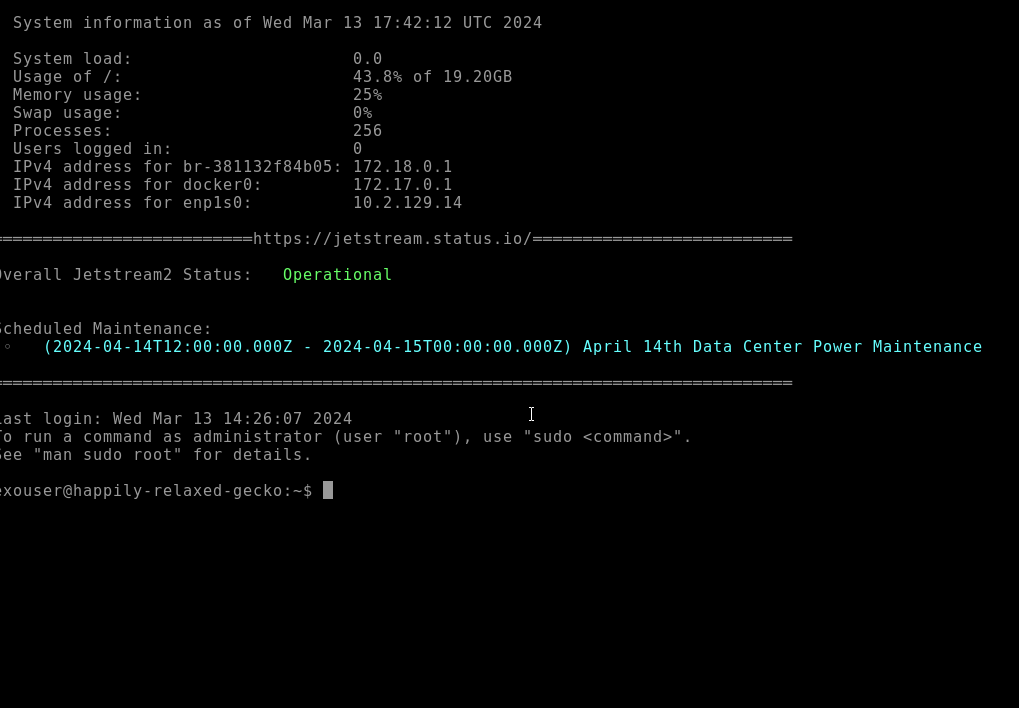
When you first connect, notice you can see the system load and how much storage and memory you have used. Also, a brief window summarizing the current status will show whether there are any ongoing or future maintenance events scheduled.
As you may have noticed by now, Web Shell is a command line interface (CLI). If you are not comfortable using the command line, don’t worry as we will move on to the Web Desktop option next. Even if you have no interest in learning command line, we recommend following along with this tutorial. The basics learned here will be useful to everyone.
Tip
From the web shell, you can open/close a menu overlay with Ctrl+Alt+Shift (on Windows) or Ctrl+Cmd+Shift (on Mac). This menu allows you to change some settings such as the font size and color scheme, as well as transfer data between your local machine’s clipboard and your instance’s clipboard. It also facilitates uploading and downloading files to/from your instance (more on this later).
Web Desktop
Note
The web desktop will not be available if you did not select to enable web desktop during instance creation. If you wish to use the web desktop, please delete this instance and create a new one with it enabled.
Opening the Web Desktop
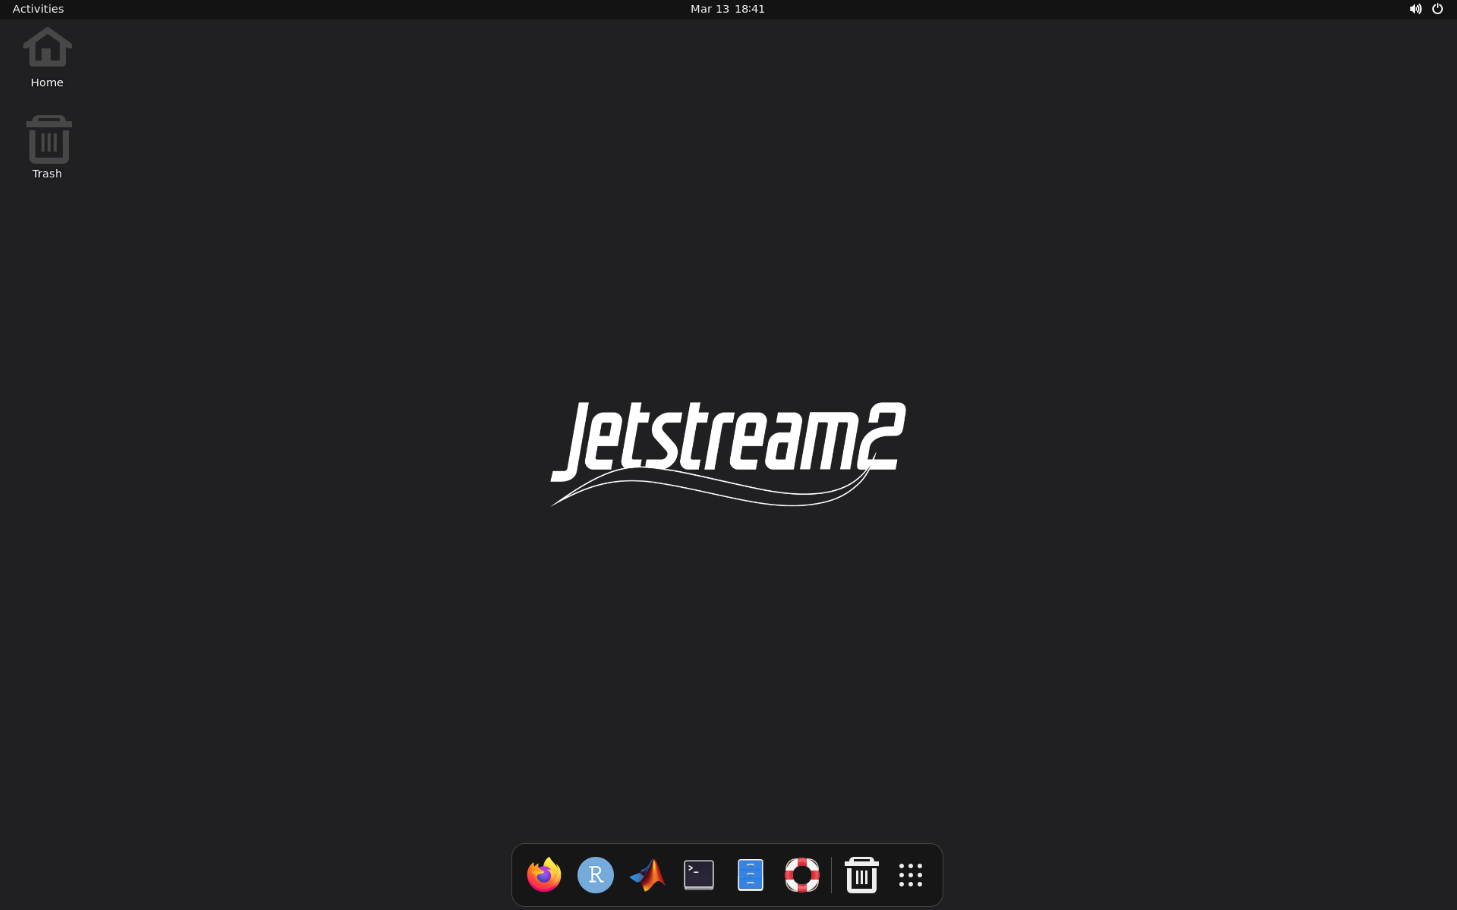
Close the Web Shell tab, return to the Instance Details page in Exosphere again, and open the Desktop interface by clicking the Web Desktop button instead of the Web Shell button. After clearing a few notifications, you should be presented with something that looks like the following:
Using the Web Desktop
The default Linux desktop interface (called Gnome) might look a little different if you are coming from Windows or Mac, but it functions essentially the same.
Notice along the bottom bar that some software comes preinstalled on your Jetstream2 instance. These include, but are not limited to, Firefox, R Studio, and Matlab. Go ahead and explore these tools to familiarize yourself. Most noteworthy is the 3x3 grid of dots, which will show even more applications, and provide a search bar to search through all apps on available on the system.
Tip
From the web desktop, like the web shell, you can open/close a menu overlay with Ctrl+Alt+Shift (Windows) or Ctrl+Cmd+Shift (Mac).
Next
Next we will learn about Volume Management