Logging in to Jetstream2
There are many ways to interact with Jetstream2, and each interface has its own unique method of interacting with our system, with its own set of strengths and weaknesses. The entirety of this tutorial will focus on using our most beginner-friendly interface, Exosphere. After you have completed this tutorial, and if you are interested in learning about our other interfaces, please see About our User Interfaces.
Enter Exosphere
Click Here to Open Up Exosphere in a New Window
Add your Allocation
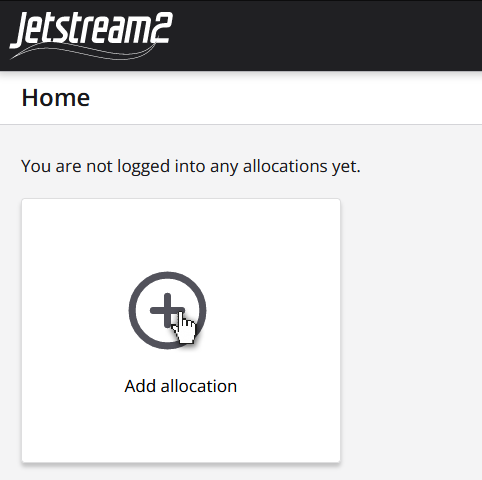
You should be presented with a blank page saying you are not logged into any allocations yet. Follow the steps below to add your allocation(s).
Click Add allocation.
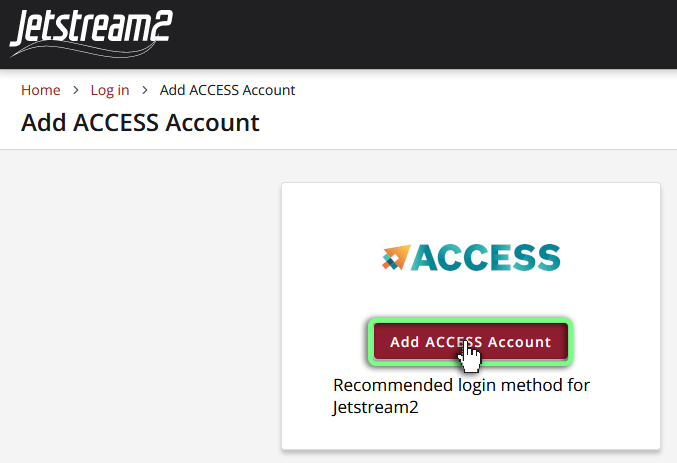
Click Add ACCESS Account
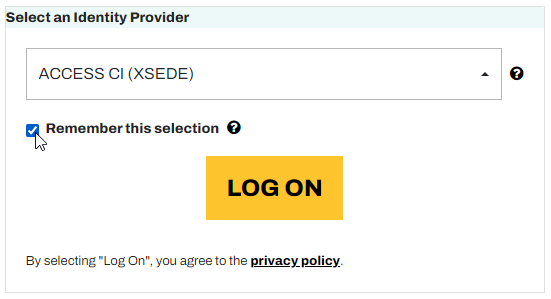
Select an Identity Provider -> Choose ACCESS CI
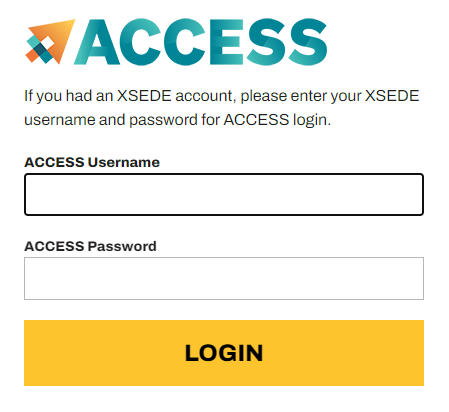
Log in using your ACCESS credentials.
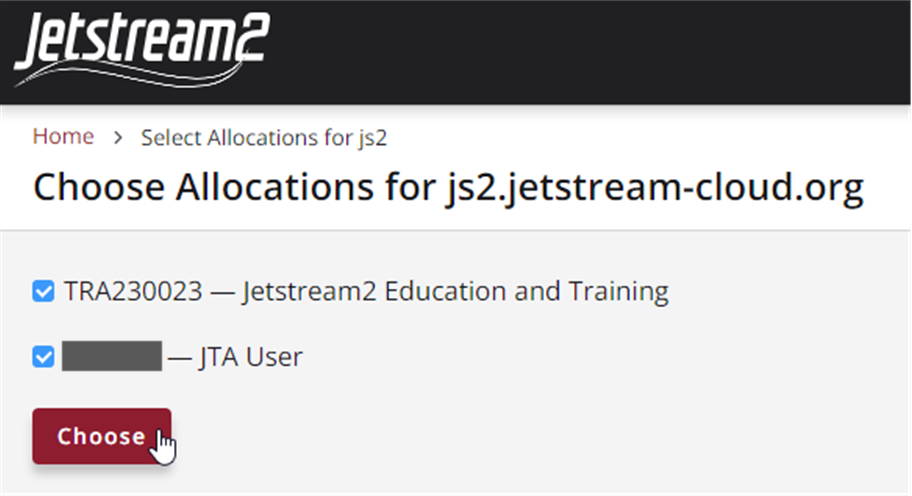
Choose which allocations you want to use.
If you belong to an ACCESS allocation, it will look like the top option, with your project code and title. You can select multiple allocations here and can always come back to this screen to add more later.
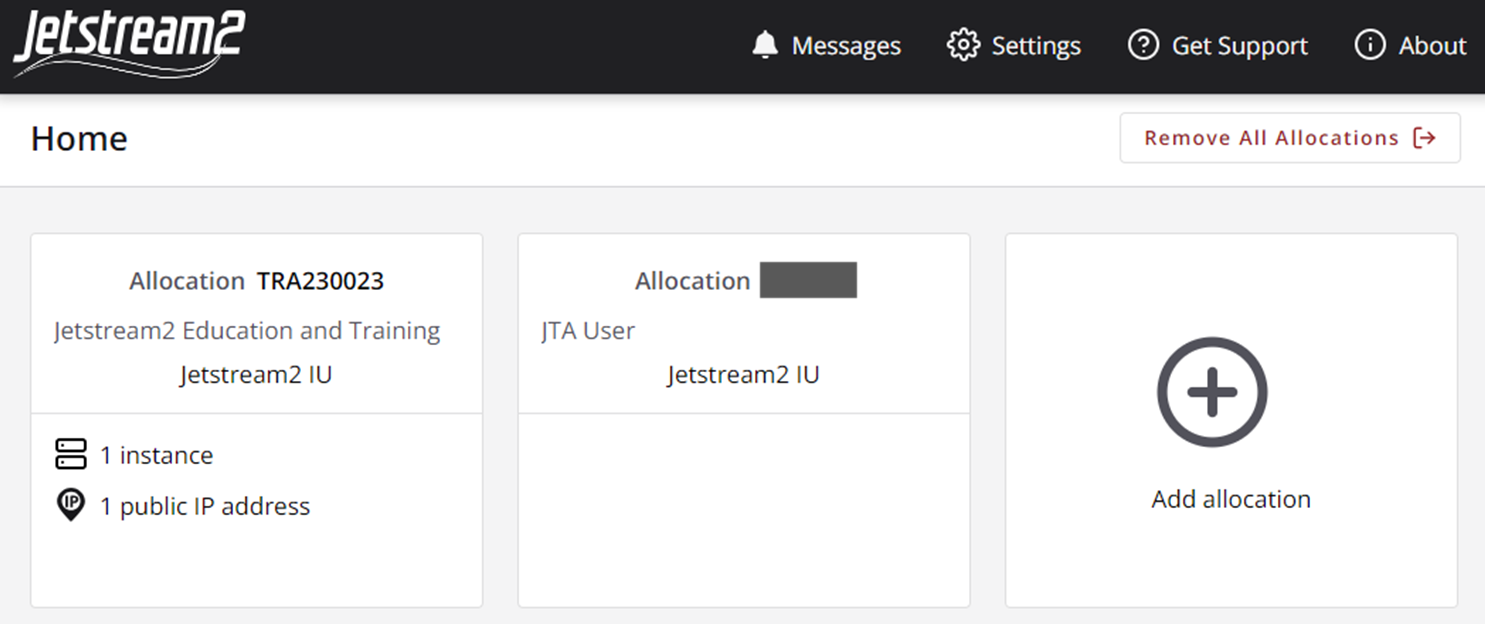
The Updated Home Screen
Congrats, you have now added your allocation to Exosphere.
After adding an allocation, you should be returned to the home page, where you should see a card for each allocation you just added. From this screen, you can add more allocations, remove all your allocations (don’t worry, if you do this then just repeat the steps on this page to readd your allocations), or click on a card to open the allocation.
Open your Allocation
Go ahead and click on the allocation you want to use and proceed to Creating your First Instance