Microsoft Windows on Jetstream2
Microsoft Windows is not officially supported on Jetstream2.
We will be making a limited number of images available for experimental use.
While these images will be created by one of the Jetstream2 parters in conjunction with Jetstream2 staff, it is NOT supported nor guaranteed to work. It is unlikely that the Jetstream2 staff will be able to do more than general VM troubleshooting as we do not have Windows expertise on staff. No license will be installed so you will need to bring your own license.
It is not known at this time whether GPUs will work on Microsoft-based instances. We will test this as time permits.
Creating an Instance
As noted above, Jetstream2 staff makes a limited number of Microsoft Windows images publically available. Instances can be spawned from these images with some considerations:
-
In order to be able to access your instance later, you will need to provide a brand-new SSH keypair in PEM format. One can be generated with
ssh-keygen -m pemin an OpenSSH-enabled terminal. Be sure to set a strong passphrase for now. -
Be sure that your root disk is large enough to deploy the image; Windows tends to be larger than most Unix/Linux images. The default 20 GB size of some flavors is too small. To get around this, either select a different flavor or use a volume-backed instance.
- Creating a Windows instance through Exosphere will cause the resulting instance to appear to be stuck in the “Building” status indefinitely, and many of the platform’s creature comforts like exouser and resource monitoring will not function properly, if at all.
Image information
Presently the image supplied by Jetstream2 is
Windows-Server-2022-JS2-Beta | bbad1676-40f1-485d-8575-ca9eac7e211e
Retrieving the Admin Password
Note
In order to retrieve the password for a Windows Server instance, an SSH keypair is required at setup. If you did not provide your instance with a keypair, you will be locked out, since recovering the Windows password without one is impossible.
You can find the password for your Windows instance via Horizon. Navigate to your instance’s management actions dropdown and select “Retrieve Password.” To decrypt the password, you will need to provide your SSH keypair’s private key file or contents. In order for Horizon to recognize the private key, it must have no passphrase and be in PEM format (it should start with -----BEGIN RSA PRIVATE KEY-----). It is, however, bad practice to leave your SSH keys unprotected, so we recommend temporarily removing the passphrase, retrieving your instance’s password, then re-setting a passphrase on the key:
SSH Private Keys are Secret.
Horizon processes your private key locally only, and does not transmit it across the internet. Just like a password or passphrase, your private key should never be shared, even with good intentions. Jetstream2 support personnel will never ask you for your private key.
-
Remove the passphrase on your key and ensure it is in PEM format (when prompted for a passphrase, simply hit
enter/return):ssh-keygen -p -f <PATH_TO_PRIVATE_KEY> -m pem -
Select your key file in Horizon or paste its contents directly into the text box, then click “Decrypt Password.”
- Take note of the resulting password.
-
Reset the passphrase on your private key to something strong:
ssh-keygen -p -f <PATH_TO_PRIVATE_KEY>
Accessing a Windows Instance from Horizon
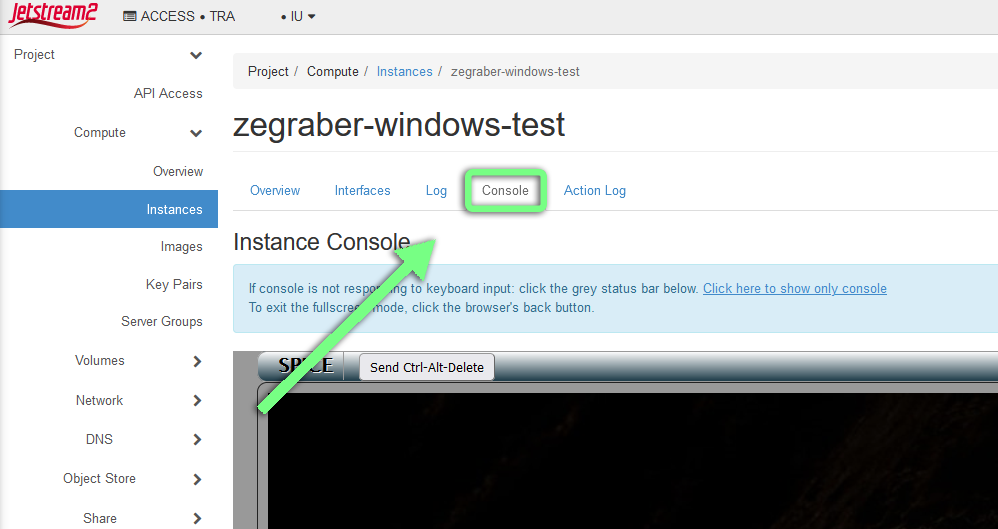
On the left side bar, navigate to Project→Compute→Instances, then click on your instance’s name. Navigate to the Console tab near the top.
Accessing a Windows Instance with Remote Desktop (RDP)
Note
Like SSH, RDP requires your instance to have a public (Floating) IP associated with it in order to access from outside the Jetstream2 network.
Windows Remote Desktop Protocol (RDP) will most likely provide a better, more feature-rich experience than the Horizon (SPICE) console.
Adding a security group for RDP
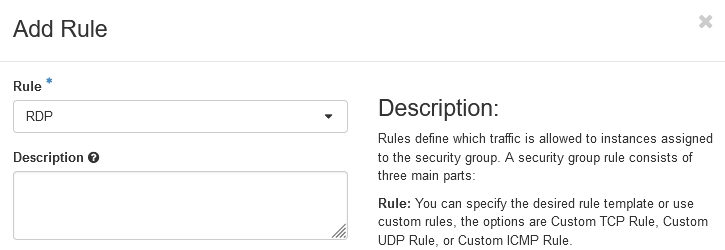
Under normal circumstances, RDP listens for connections on TCP port 3389 and may be accelerated by exposing UDP port 3389. If TCP port 3389 is not exposed on your instance, you will be unable to connect with RDP. Luckily, Horizon provides a prefabbed security rule for RDP access.
You can add this rule to an existing security group or create a new one, then apply the security group to your instance by navigating to “Edit Security Groups” in the management actions dropdown.
Minimize security risks.
We strongly advise limiting remote access to RDP port(s) to the smallest possible CIDR or, even better, single IP(s), rather than the default 0.0.0.0/0 (which allows access from any public IP); an improperly configured RDP service could allow remote access to a host in an unintended manner in addition to exposing SSL/TLS certificate information.
Enabling Remote Desktop
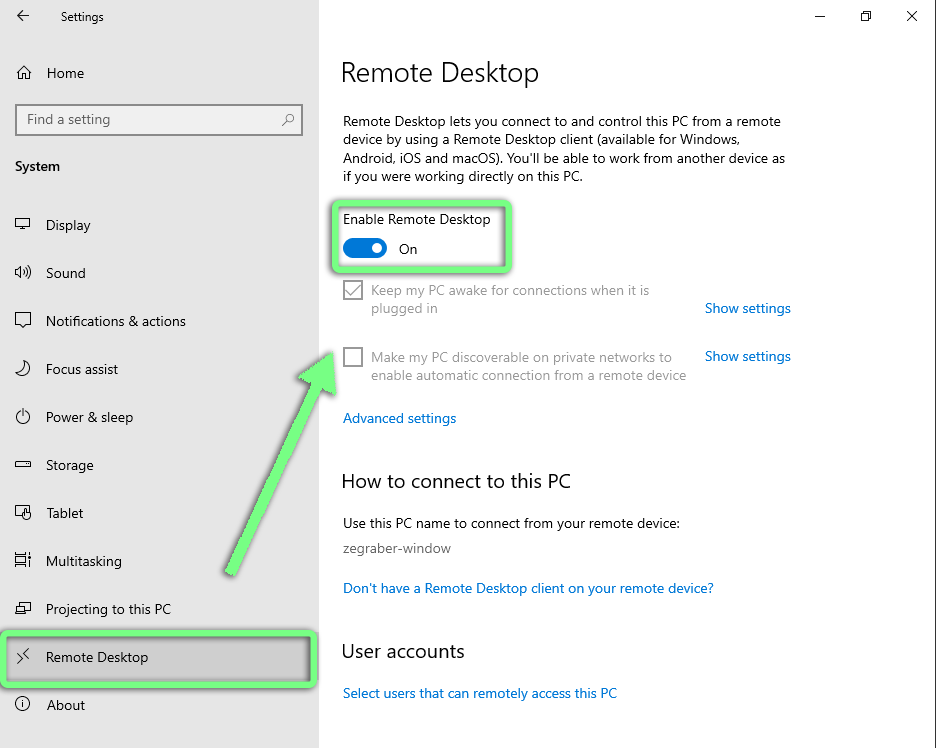
Remote Desktop may need to be enabled on your instance before attempting to connect. First, access your instance through Horizon, as described above. Open the machine’s Settings app, then navigate to the “Remote Desktop” section on the left. Ensure that “Enable Remote Desktop” is set to “On.”
Connecting
If you are on a Windows computer, you can follow these steps to connect via RDP:
- Search for “Remote Desktop Connection”
- In the
Computerfield, enter your instance’s public IP address.
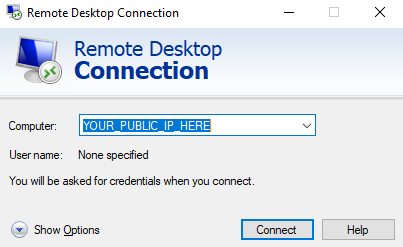
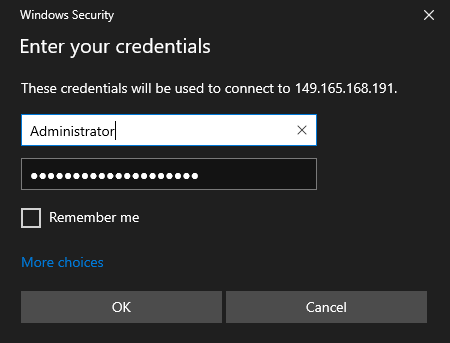
- You will be prompted for credentials. Depending on the version of Windows Server installed, the
User namewill be either “Administrator” or “Admin”. Your password can be found in Horizon. Click “OK”.
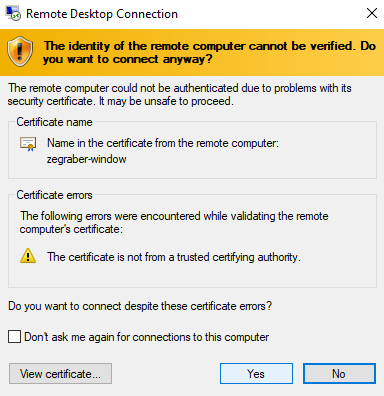
- You will likely be prompted with a security certificate. View the certificate, determine if it is safe to continue, then (if so), click “Yes”.
- You should now be connected to the remote machine.