Instance Management Actions
Performing Actions
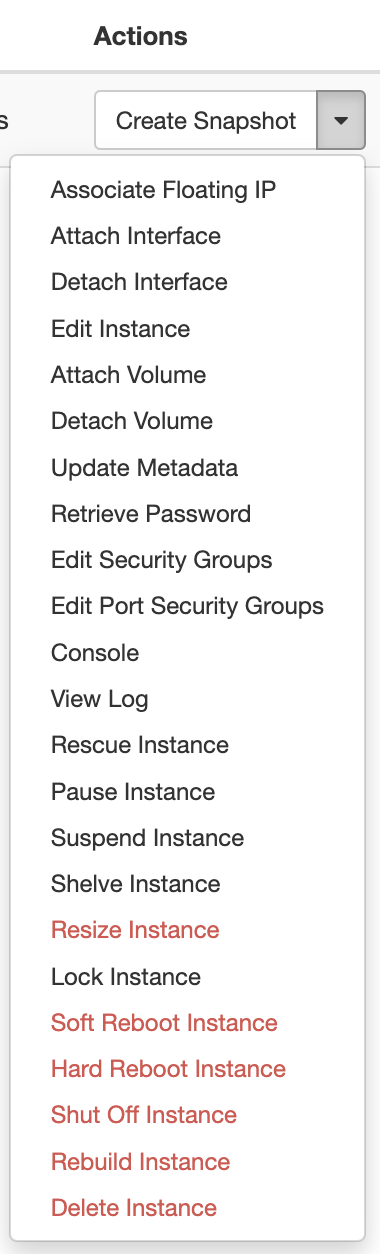
After launching an instance (On the left side bar, click on Project → Compute → Instances), several options are available under the Actions menu located on the right hand side of your screen.
Suspend & Resume
- Click
Action→Suspend( restored byResume) - Stops active computing while still consuming system resources
- Safely preserve the state of your instance
- Preserves some of your allocation (75% normal usage rate)
- Status will change to
Suspended
Shutoff & Start Instance
- Click
Action→Shut Off Instance( restored byStart Instance) - Stops active computing, consuming fewer resources than a
Suspend. - Preserve your allocation (50% normal usage rate)
- Status will change to
Shutoff
Shelve & Unshelve
- Click
Action→Shelve Instance( restored byUnshelve) - Stops all computing, consuming no service units (0% normal usage rate).
- Stores a snapshot of the instance.
- We strongly recommend
detaching volumesbeforeshelving. - Status will change to
Shelved Offloaded
Soft Reboot & Hard Reboot
- Click
Action→Soft Reboot InstanceorAction→Hard Reboot Instance - Soft: send an ACPI Restart request to the VM. Similar to sending a reboot command to a physical computer
- Hard: forcibly restart your VM. Similar to cycling the power on a physical computer.
- Status will change to
RebootorHard Reboot
Delete Instance
-
Click
Action→Delete InstanceUnmount volumes attached to your instance before deleting the instance or risk corrupting your data and the volume.
-
If Ephemeral disk: Stops and removes the instance ephemeral disk from the cloud. All data will be permanently lost!*
- If Volume-backed disk: Stops and removes the instance from the cloud. If
Delete Volume on Instance Deletewas set toyes, All data will be permanently lost!* . If set tono, the volume may be used to back a new instance, though any data stored in memory will be permanently lost. - Status will briefly change to
Deletingwhile the instance is being removed.
Create Snapshot
- Click
Action→Create Snapshot - Creates an image template from a VM instance.
- You can launch an instance, custom install the software and files you want to use, then request an snapshot/image of the instance. This will save all of the changes and updates, but also make your custom changes available to yourself and collaborators. Saving instances as images helps leverage both your time and existing resources. The saved image can be used to launch a new child instance at any time. This allows you to discard non-active instances, thus saving resources.
-
Snapshots and Images
- When you have created a custom workflow or configuration, you can create a snapshot for your own use. In OpenStack, an instance snapshot is an image. The only difference between an image that has been uploaded directly to the image data service: glance and an image you create by snapshot is that an image created by snapshot has additional properties in the glance database and defaults to being private.
Glance is a central image repository which provides discovering, registering, retrieving for disk and server images.
CAUTION:: SHUTOFF
You can create a snapshot from a running server instance, but if you want to preserve all data, you must shut down the source VM and verify the instance status is SHUTOFF before creating the snapshot.
-
Instances must have status
Active,Suspended, orShutoffto snapshot.Shelvedinstances are already imaged as part of the shelving process and appear inProject→Compute→Imagesas<instance_named>_shelved
-
The menu will automatically shift to
Project→Compute→Imageswhile the image is created. -
BEST PRACTICE: We recommend users upgrade the operating system before imaging.
- For Rocky based systems, it’s
sudo dnf update. - For Ubuntu based systems, do
sudo apt updateand thensudo apt upgrade.
- For Rocky based systems, it’s
Creating an image on the SMALLEST possible size VM on which it will run will allow the image to be launched on VMs of the same flavor size or larger without resorting to a volume-backed instance.
For example, an image created on a Tiny sized VM can be launched on a VM of any size; an image created on a Medium VM can only be launched on a Medium or larger size VM.
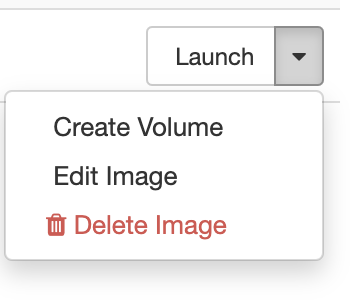
- In the
Project→Compute→Imagesmenu, clickAction→Edit Imageto modify thevisibilityandminimum diskrequirements of your newly created image