Push-button Clusters using Exosphere (RETIRED)
RETIRED
The Push-button cluster feature using Exosphere has been retired and is no longer available. We have chosen to keep the contents of this page available for reference only. For alternative virtual cluster options, see Virtual Clusters on Jetstream2
Original Instructions (For Reference Only)
Info
This guide assumes that you are comfortable creating instances using Exosphere. If you are new to Exosphere, see Exosphere: Overview.
Exosphere makes it simple to create a virtual Slurm cluster, complete with automatic, elastic scaling of compute nodes. This helps you get started with parallel computing, and to scale up your cluster as your needs grow.
Info
To learn more about virtual clusters, as well as other ways to create them, see Advanced Capabilities: Virtual Clusters on Jetstream2.
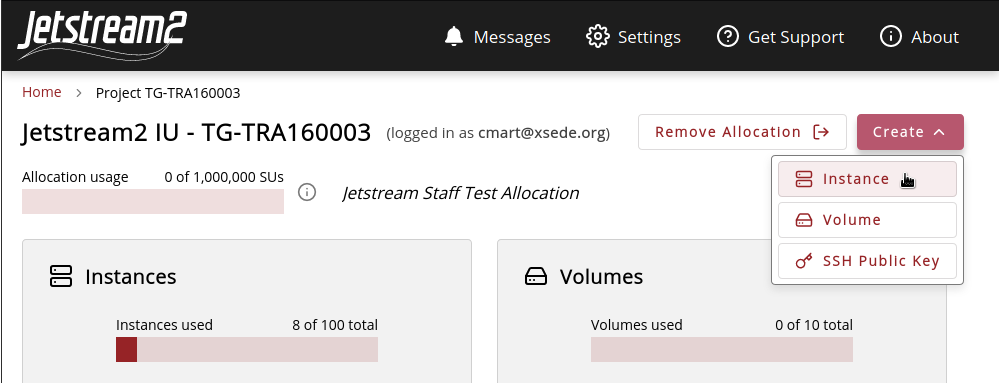
Enable Experimental Features in Settings
Open the Settings page (top menu). Ensure that the “Experimental Features” option is enabled.
Create a Cluster Head Node Instance
Select “Create” and then “Instance”.
For instance source type select Rocky Linux 8.
Choose a unique name (preferably a short name with no spaces or special characters) for your instance. Ensure there is no existing instance with the same name by looking at the Exosphere instance list page and pressing the “Clear filters” button.
This will be the base name for all resources created for the cluster, including networks, SSH keys, compute nodes, etc.
For flavor choose “m3.small”.
Expand “Advanced Options”.
Select an SSH key (highly recommended).
You should see an option “Create your own Slurm cluster with this instance as the head node”. Select “Yes” for this option.
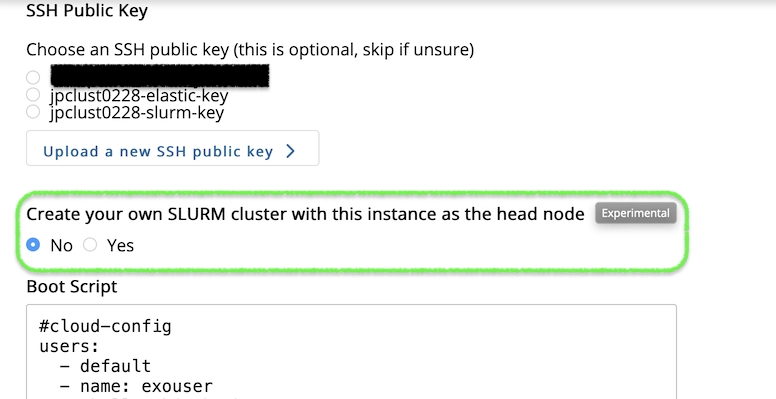
Click the “Create” button underneath the Boot Script text input area.
Wait until the instance is ready - this could take up to half-an-hour.
Run a Job on the Cluster
SSH into the new instance as exouser. (Alternatively use the web shell.)
Switch to the rocky user:
sudo su - rocky
Go to the cluster repository directory:
cd ~/Jetstream_Cluster/
Submit a test batch job:
sbatch slurm_test.job
View the live SLURM logs:
sudo tail -f /var/log/slurm/slurm_elastic.log /var/log/slurm/slurmctld.log
You should see messages indicating a new compute node being created as an OpenStack instance.
Confirm the new compute node instance exists by refreshing Exosphere’s instance list page. Its name should begin with the same name as your head node instance, and end with “-compute-0”.
Once the job is finished confirm that the compute node is gone by refreshing Exosphere’s instance list page.
Check the output of the test batch job by finding a new file ending with .out in the directory where you ran sbatch and viewing its contents. The file should contain two copies of the hostname of the compute node. For example:
ls -alt *.out
cat nodes_1.out
You should see something like this:
$ ls -alt *.out
-rw-rw-r--. 1 exouser exouser 72 Jan 28 19:10 nodes_1.out
$ cat nodes_1.out
yourclustername-compute-0.novalocal
yourclustername-compute-0.novalocal
You now have your very own working Slurm cluster. Congratulations!
Clean-up steps
Once you’re done with your cluster, and you want to get rid of the head node instance as well as all the OpenStack resources created for the cluster, run the following commands on the head node instance (in an SSH session or web shell):
sudo su - rocky
cd ~/CRI_Jetstream_Cluster
./cluster_destroy_local.sh -d
Your SSH or web shell session on the head node will be terminated, and you will be disconnected.
Confirm that the head node instance is gone by refreshing Exosphere’s instance list page.