Exosphere: Logging In
Visit Exosphere in your web browser at https://jetstream2.exosphere.app/.
Starting the login/authentication process
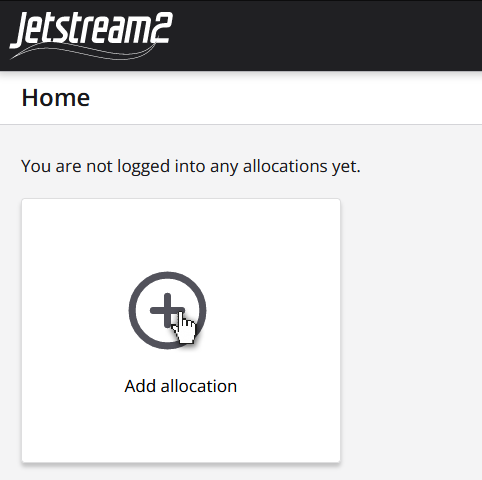
To log in to J2 Exosphere, you will need to click on the “Add allocation” card.
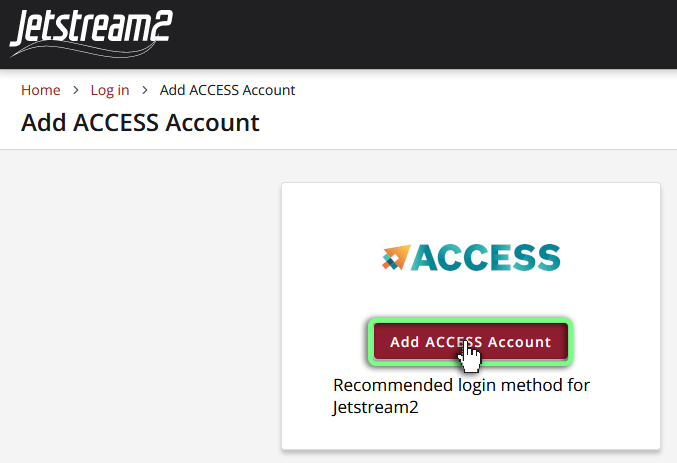
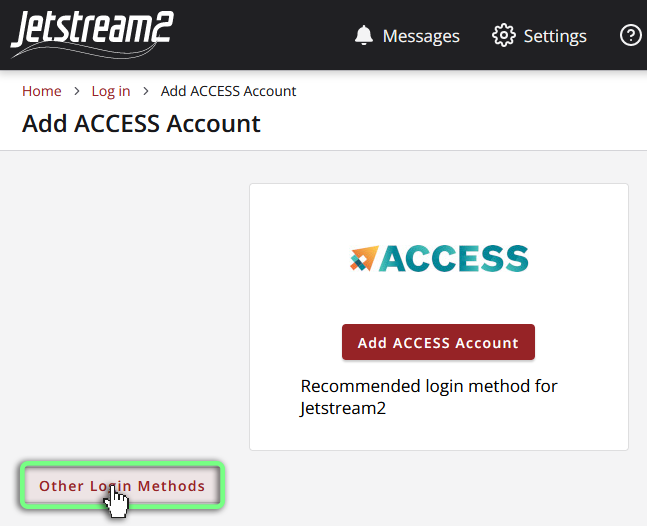
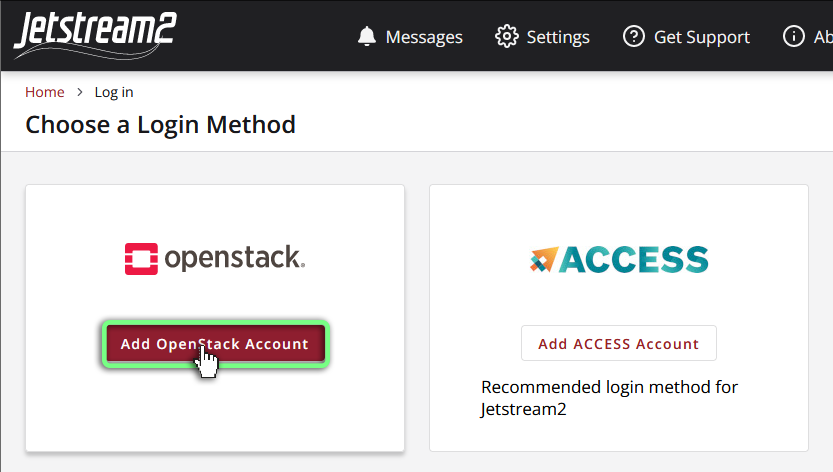
The next screen will ask you to add your ACCESS account or select another login method (“Other Login Methods” button). “Other login methods” allows you to add an OpenStack account, which is not something most users can use with Jetstream2. If you are unsure, select the “Add ACCESS Account” card and follow the instructions below.
Using ACCESS account (single sign-on)
Once you click on “Add ACCESS account”, you will be redirected to a CILogon page, a platform that manages ACCESS log ins. You will be required to allow authorization via CILogon any time you launch Exosphere unless you are already signed in. To log in using your ACCESS-CI credentials (which should be the same as your XSEDE credentials if you previously used XSEDE), select ACCESS CI (XSEDE) from the “Select an Identity Provider” drop down menu.
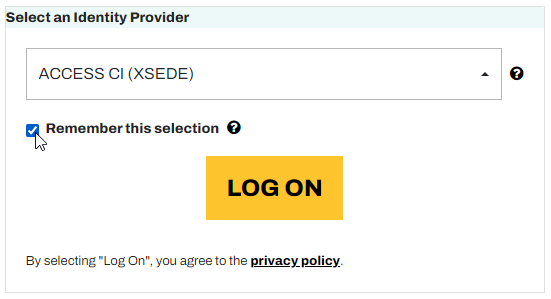
Your ACCESS account credentials are the default login method to Exosphere, so it is recommended that you select ACCESS-CI from the dropdown box. Please note that this may require multi-factor (Duo) authentication. If you need help setting up or changing your multi-factor authentication method, please open an ACCESS Help Ticket, as Jetstream2 staff cannot fix this for you directly.
Using other accounts
If you have linked institutional, Google, Orcid, or other credentials PREVIOUSLY with CILogon, you’ll be able to use those to authenticate.
We know ACCESS-CI credentials work correctly and recommend using “ACCESS-CI” as your identity provider unless you are 100% sure you have linked your credentials with CILogon (previously linked credentials in XSEDE using Globus do NOT carry over).
Other institutional credentials
Please note that other CILogon credentials (i.e. for your home institution or Google) must be set up outside of this process. Follow these Linking instructions to link your home institution or other organization (e.g. Google, ORCID, etc) credentials.
Choosing allocations and regions
After you log in with your ACCESS credentials, Exosphere will prompt you to select from the allocations that you are a member of. Any un-selected allocations will not be added the Exosphere interface, so select all that you may want to use. If you are granted access to a Jetstream2 regional cloud, you will be logged into those allocations in both the main (Indiana University) region and any other regions.
Logging into non-Jetstream clouds in Exosphere
The Exosphere interface for Jetstream2 also allows you to manage resources on other OpenStack-based research clouds alongside Jetstream2. In order for this to work, these third-party clouds must expose their OpenStack APIs publicly, and you must have OpenStack credentials (or an OpenRC file) to provide. To add other clouds, choose “Add allocation”, select “Other login methods”, and pick the “OpenStack” login method.
If you encounter difficulty adding non-Jetstream2 clouds to Exosphere, Jetstream2 staff will have limited ability to troubleshoot and help, so this capability is not guaranteed to work.
| Add Allocation | Other Login Methods | Add OpenStack Account |
|---|---|---|
|
 |
 |