Working with Networks in Horizon
auto_allocated_network
Every Jetstream2 allocation is automatically provisioned with an auto_allocated_network. Most users can skip creating a network entirely and simply use auto_allocated_network for their instances.
Create a Network
- Network
-
You will need a network that Virtual Machines can use.
-
If
auto_allocated_networkexists from Exosphere, you may wish to use that one and can skip ahead.-Otherwise- -
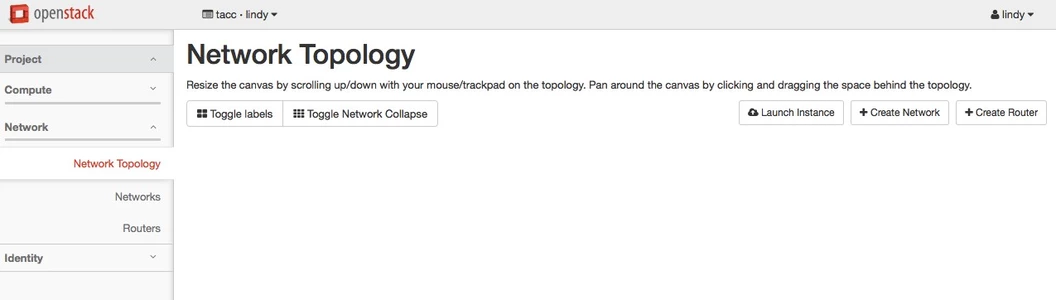
In the left menus, click on
Project→Network→Network Topology→+Create Network
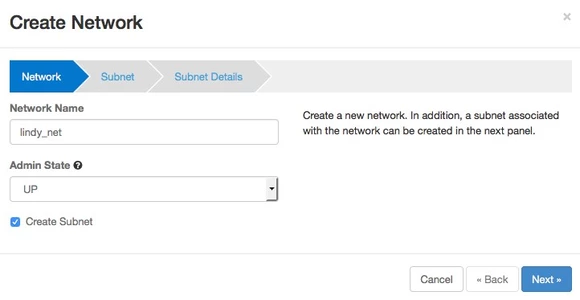
- Network name
-
Enter a network name, for example,
<username>_net. -
After giving it a descriptive name, press the blue
NEXTbutton.
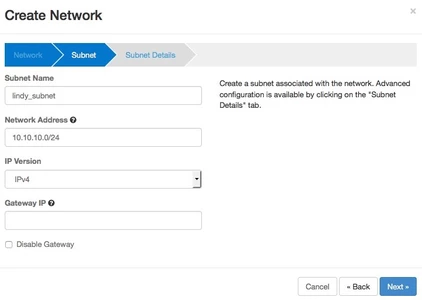
- Subnet
-
Enter a subnet name, e.g.
<username>_subnet, and a network address, e.g.10.1.1.0/24, and a gateway address, e.g.10.1.1.1.- This should be a non-routable subnet.
- You can use
10.0.0.0 - 10.255.255.255,172.16.0.0 - 172.31.255.255,192.168.0.0 - 192.168.255.255.
-
If you’re not sure what to choose, you can go with
10.1.1.0/24→ this will give you 255 available addresses in the10.1.1.0domain. -
If you choose
10.1.1.0/24you can then set the gateway address to be10.1.1.1 -
After giving it a descriptive name, press the blue
NEXTbutton.
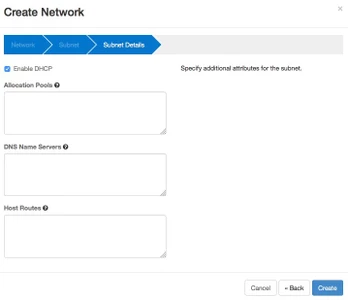
- Create
-
Click
Createto create the new network.DHCP
Do NOT uncheck the
Enable DHCPbox unless you are familiar with setting the advanced features of OpenStack networks, subnets, and routers.
- Router
-
Jetstream2 Policy defaults to
router quota = 1.If you already have theauto_allocated_networkand have not requested a quota increase, the button+Create Routermay be greyed out.-Otherwise- -
Click on
+Create Router.

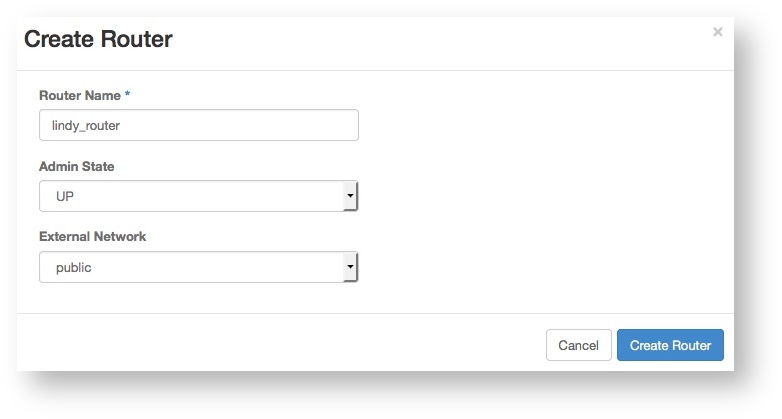
- Router name
- Enter a router name, for example,
<username>_router. - Under the
External Networkdropdown, selectpublic, then clickCreate Router - After giving it a descriptive name, press the blue
NEXTbutton.
- Connect Network to Router
-
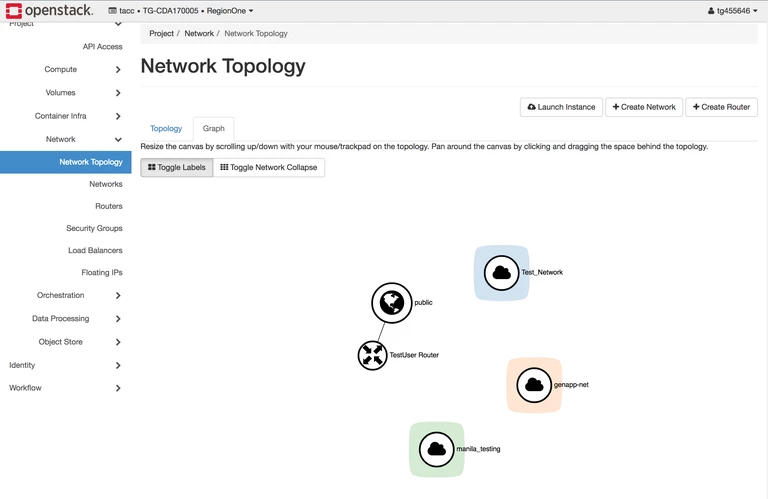
You’ll need to connect your private network to the router.Make sure you’re in
Graphmode (vsTopologymode). Your screen should look like the top image on the right.- If it looks like it’s in
Topologymode, click theGraphtab under theNetwork Topologypage heading to put it intoGraphmode
- If it looks like it’s in
-
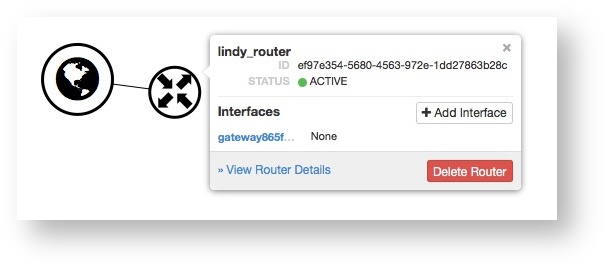
Click on the router you just created (or auto_allocated_router ),then
+Add Interface.
- Select subnet
-
Select the subnet you previously created from the dropdown list.
-
Click
Submit
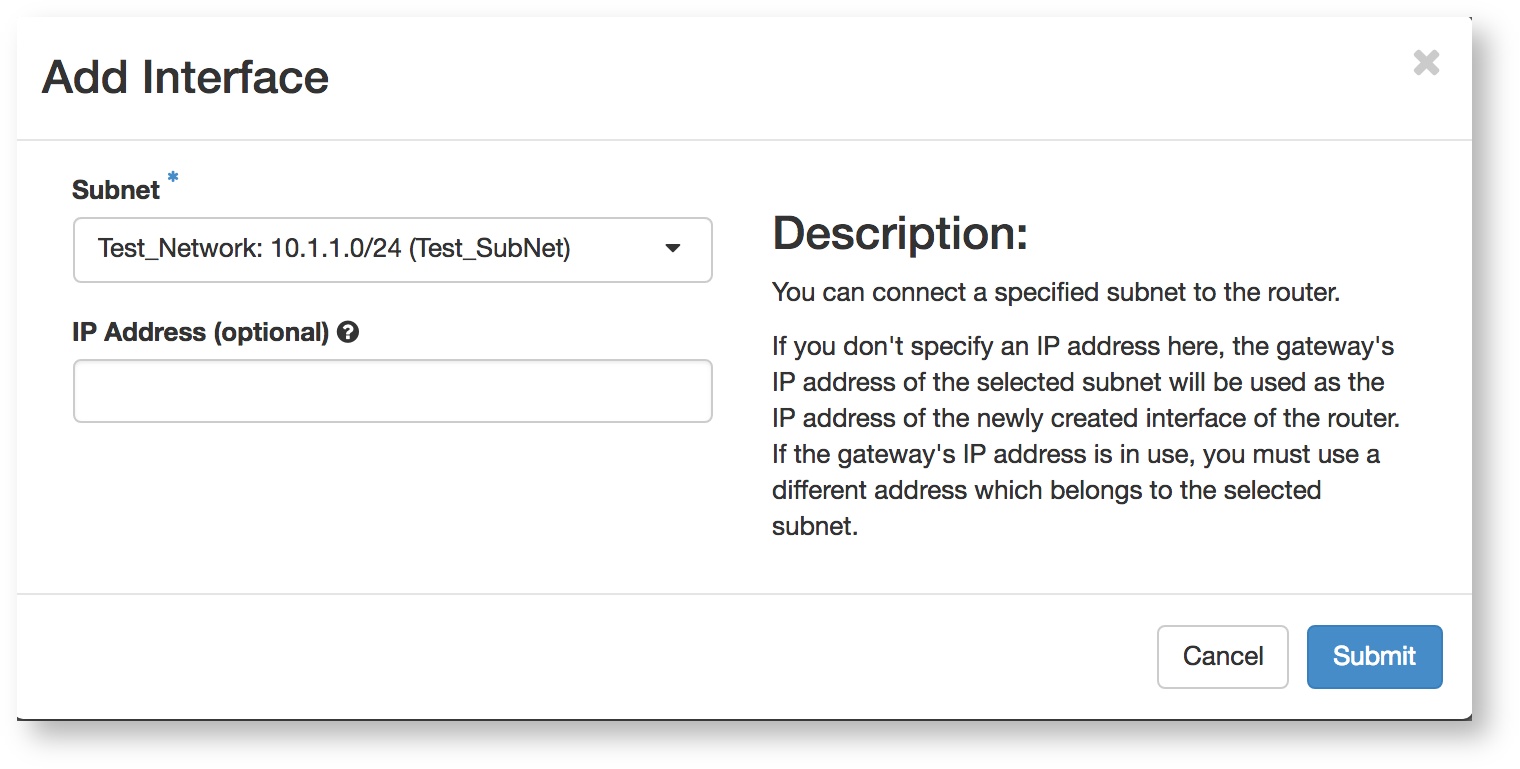
- The network should now be connected to the new router. The end result will look similar to the diagram.
